
Microcement bathrooms
A hand-applied mineral coating laid in thin layers straight over walls, floors and bath plinths. No tiles, no grout lines, no joins — one continuous surface, worked by hand so no two finishes are ever the same.
A specialist skill, and only a small number of fitters offer it in the area. If you want this finish, call us and we’ll talk you through it.
Our microcement work
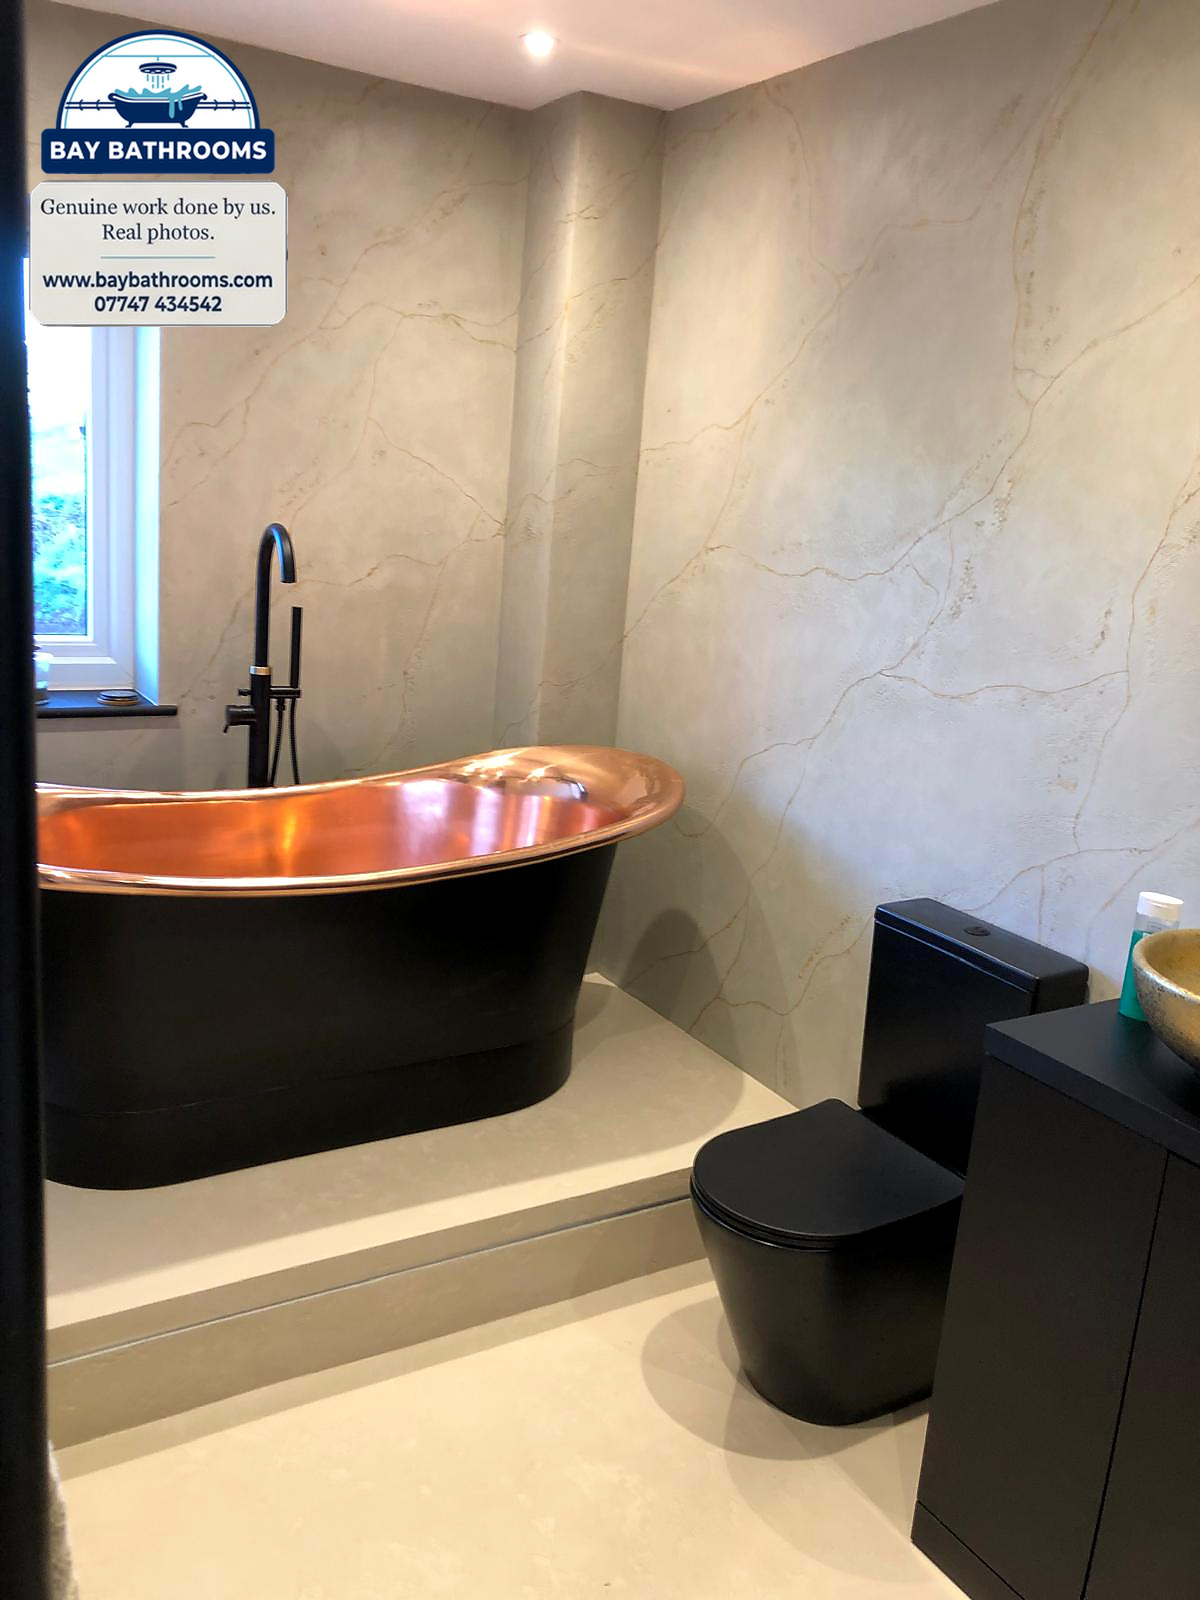
Copper roll-top bath on a microcement plinth
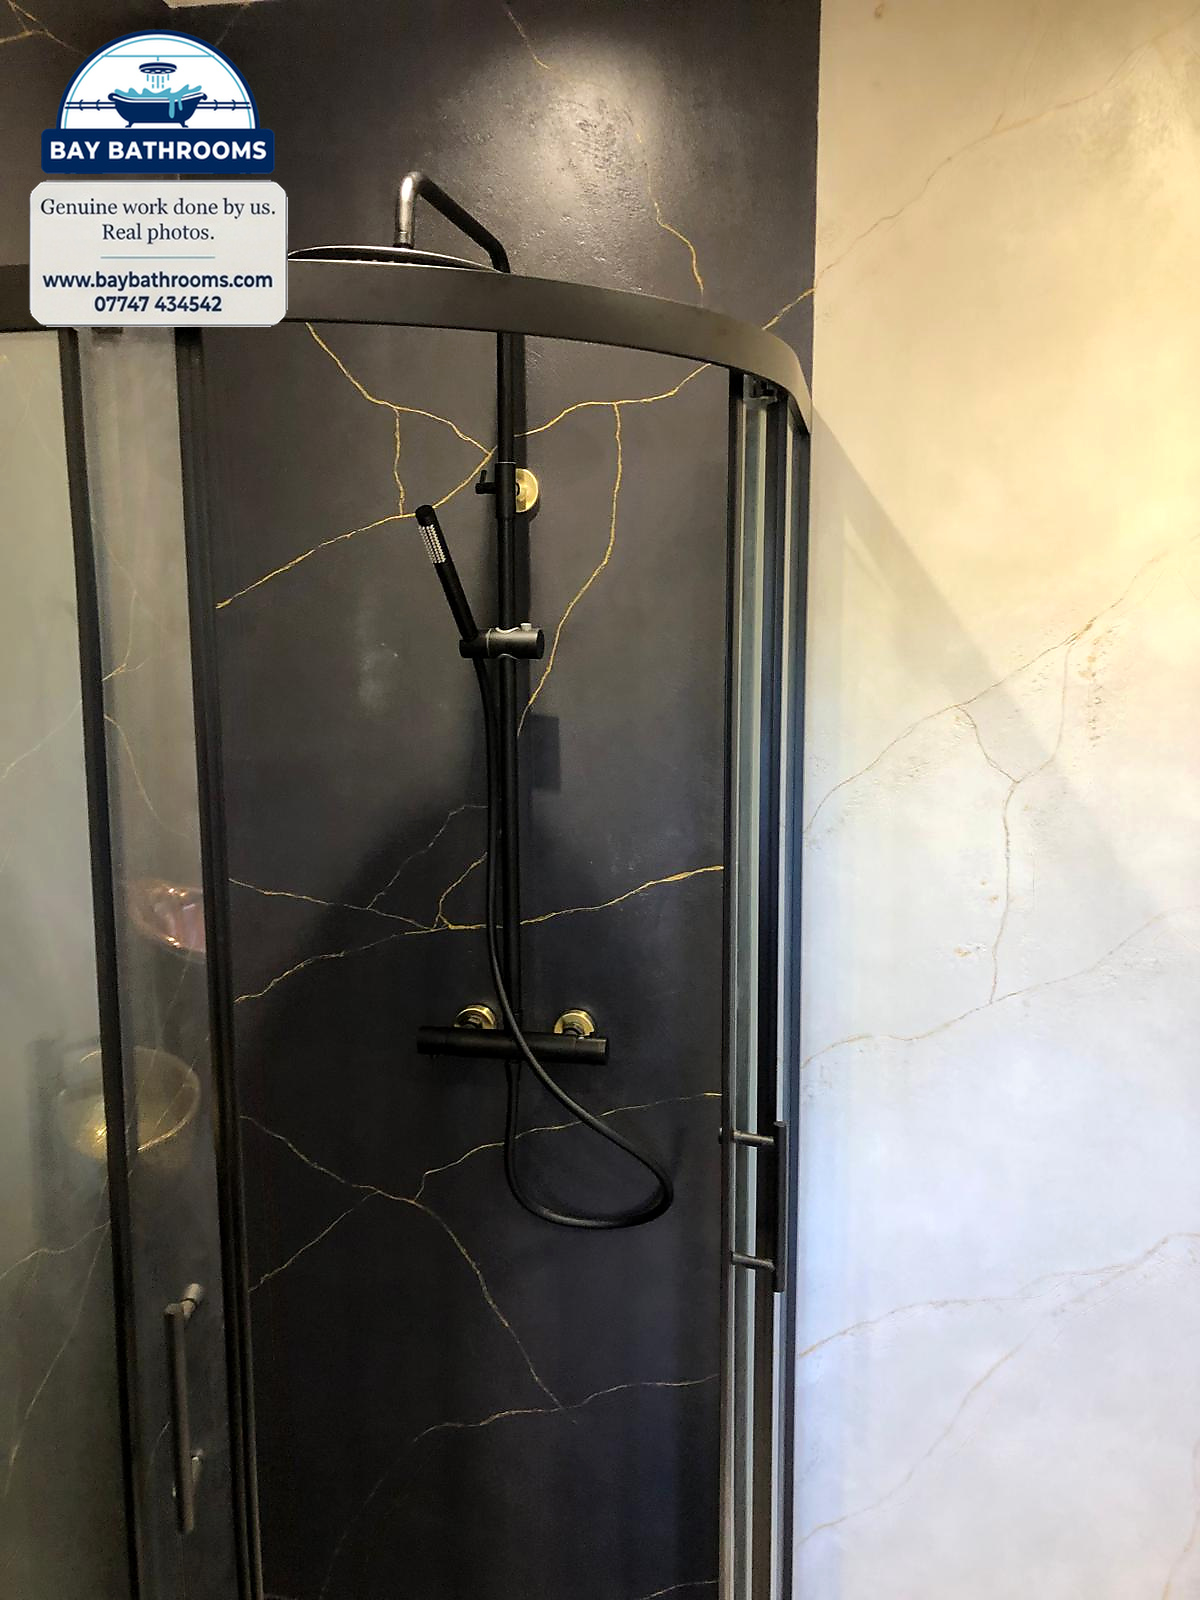
Black and gold-veined shower walls
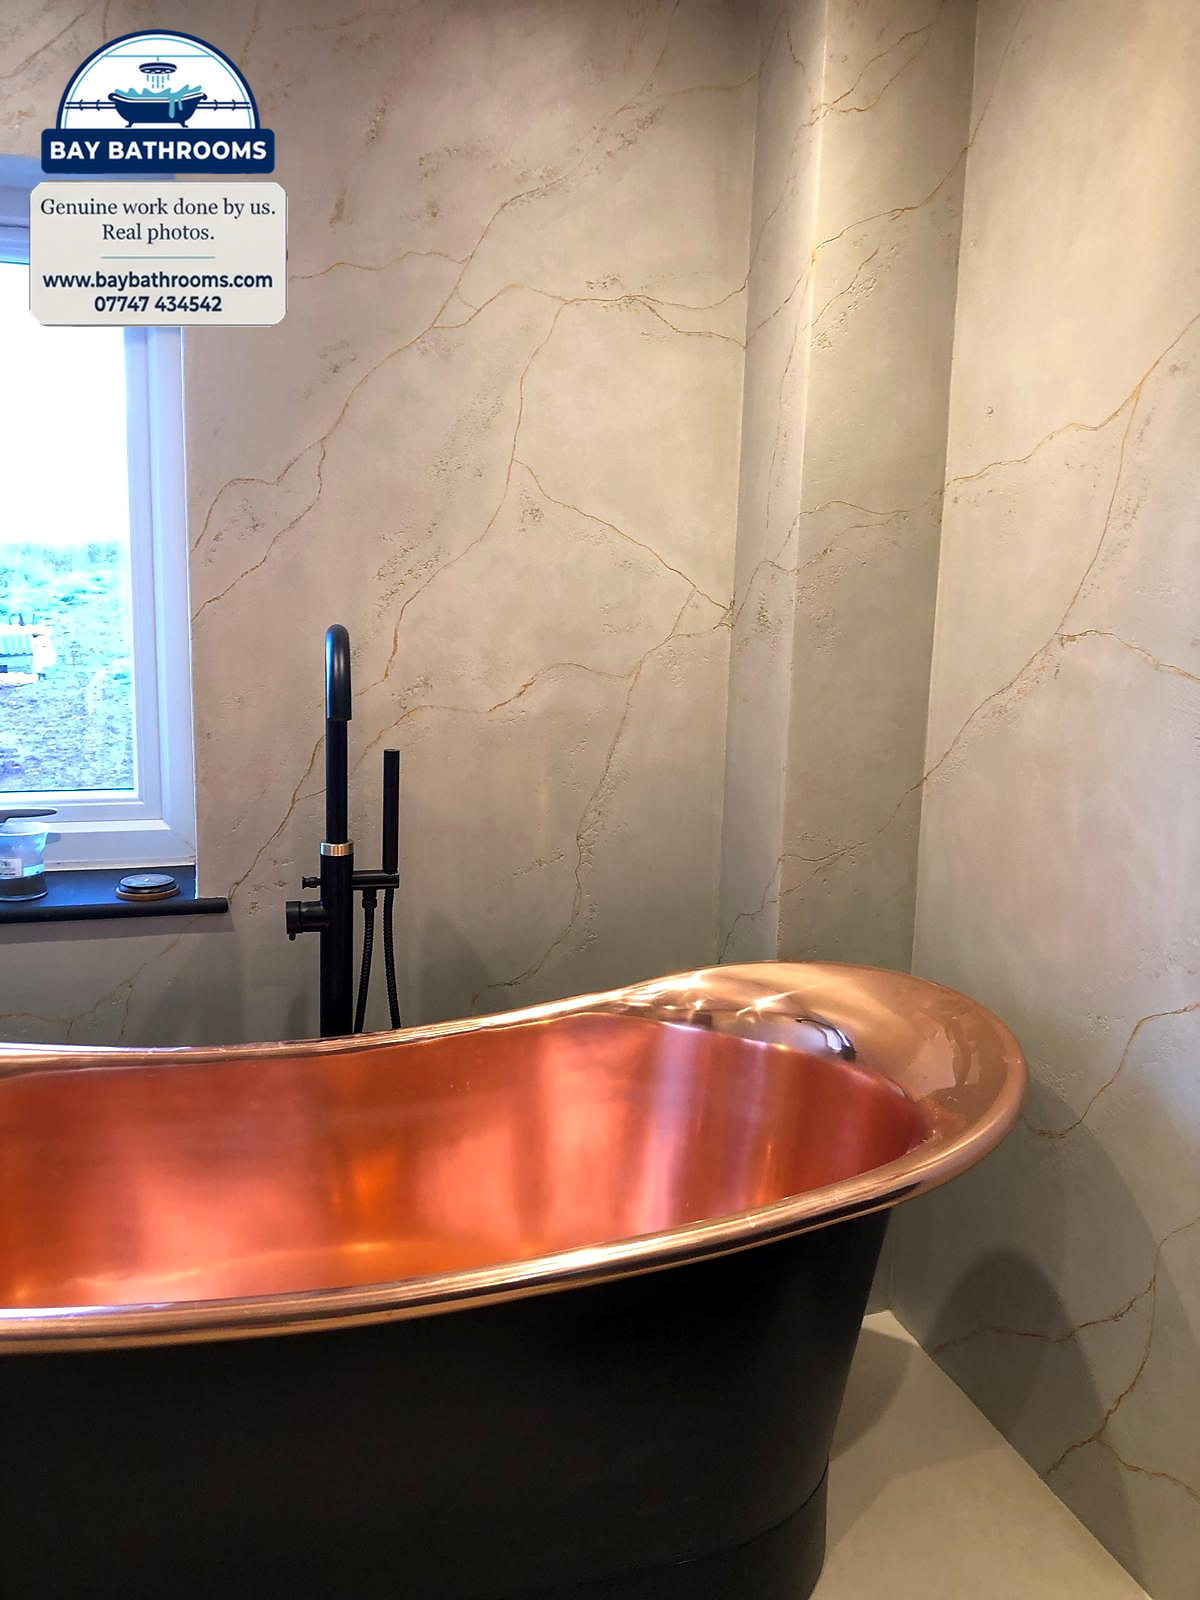
Hand-worked veining behind the bath
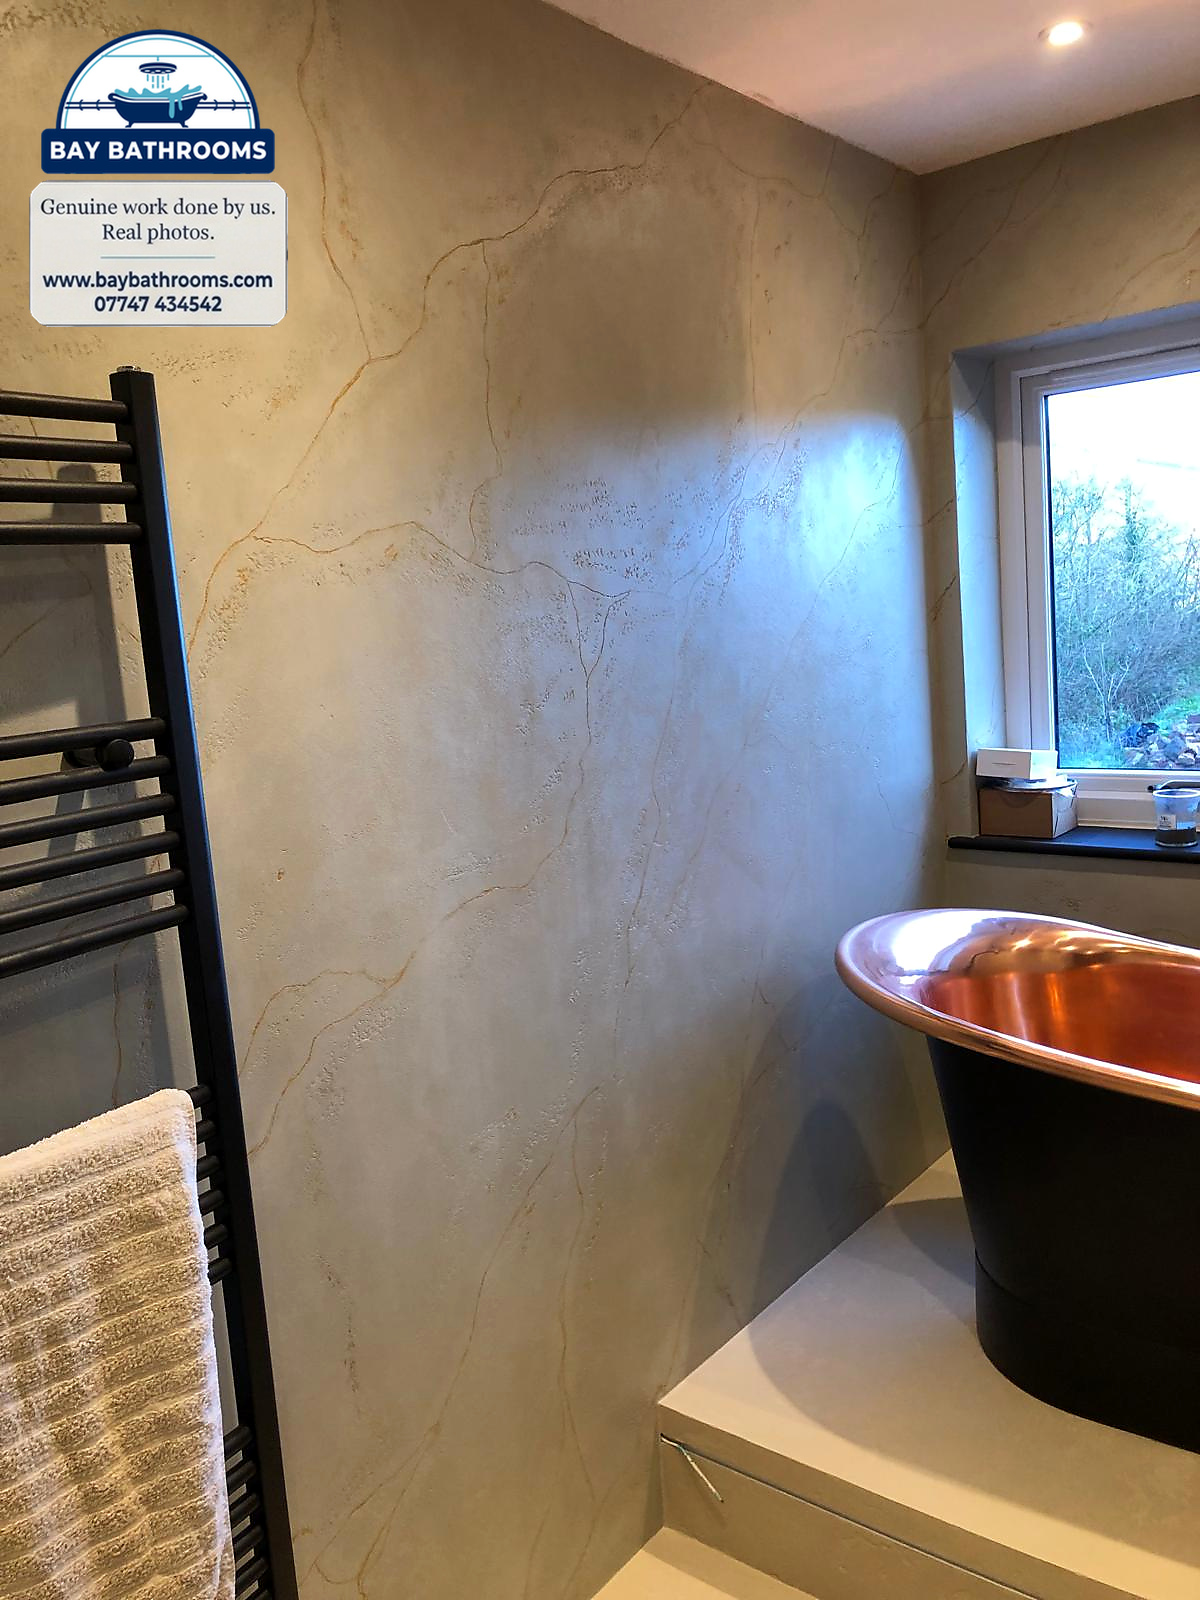
Textured microcement feature wall
How a microcement bathroom is done
- 01
Look and talk it through
We come and see the room, talk about colour and texture, and check the walls and floor are right for it. No charge for the visit.
- 02
Written fixed quote
You get a clear written price before anything starts.
- 03
Prepare the surfaces
Old surfaces are made sound, clean and level, and wet areas are waterproofed first.
- 04
Apply by hand in thin layers
Microcement goes on in thin coats, each one trowelled and left to dry before the next. This is where the unique finish comes from.
- 05
Seal
Protective sealer coats are applied so the surface copes with water and everyday use.
- 06
Fit and finish
Bath, basin, taps and shower go back in, and we leave the room clean and tidy.
Looking after microcement
- Clean with warm water and a mild, pH-neutral cleaner and a soft cloth.
- Avoid bleach, limescale removers and abrasive pads, which can wear the sealer.
- Wipe away standing water and squeegee shower walls after use.
- A fresh coat of sealer every so often keeps the surface protected - ask us when it's due.
Thinking about microcement?
Call any time for a free quote and a written fixed price.